SSO Integrations
Debugging FAQ
Providing HAR file for debugging
HAR files encapsulate crucial data such as requests and server responses, empowering engineers to swiftly diagnose and address ongoing issues.
In the event of encountering any challenges, providing the HAR file becomes pivotal to help our team in resolving the issue effectively.
To provide the HAR file, please adhere to the following step-by-step process:
Google Chrome
- Open browser and select Menu > More Tools > Developer Tools.
- In the Developer Tools, go to the Network tab.
- In the Network tab check Preserve log.
- Use the browser in a manner that triggers the problem you’re experiencing to collect logs.
- Within the Network tab, click on Save/Export to download the HAR file.
Mozilla Firefox
- Open browser and select Menu > More Tools > Developer Tools.
- In the Developer Tools, go to the Network tab.
- From the menu, select Web Developer > Network.
- In the Network tab check Preserve log.
- Use the browser in a manner that triggers the problem you’re experiencing to collect logs.
- Within the Network tab, click on Save/Export to download the HAR (HTTP Archive) file.
Apple Safari
- Open browser and enable Developer Tools in Safari > Preferences > Advanced > Show Develop menu in menu bar.
- From the menu, select Develop > Show Web Inspector > Network tab.
- In the Network tab check Preserve log.
- Use the browser in a manner that triggers the problem you’re experiencing to collect logs.
- Within the Network tab, click on Save/Export to download the HAR file.
Microsoft Edge
- Open browser and press
F12to open Developer Tools. - Open Network tab in Developer Tools.
- Disable the Clear entries on navigate option in Network tab.
- Use the browser in a manner that triggers the problem you’re experiencing to collect logs.
- Within the Network tab, click on Save/Export to download the HAR file.
Providing SAML assertion for debugging
SAML assertion is set of user data that is exchanged between Identity Provider (client system) and Service Provider (Masterplan) during SSO.
In the event of encountering any challenges concerning SAML SSO, providing the assertion becomes pivotal to help our team in resolving the issue effectively.
To provide the SAML assertion, please adhere to the following step-by-step process:
- Initiate the following actions as the affected user.
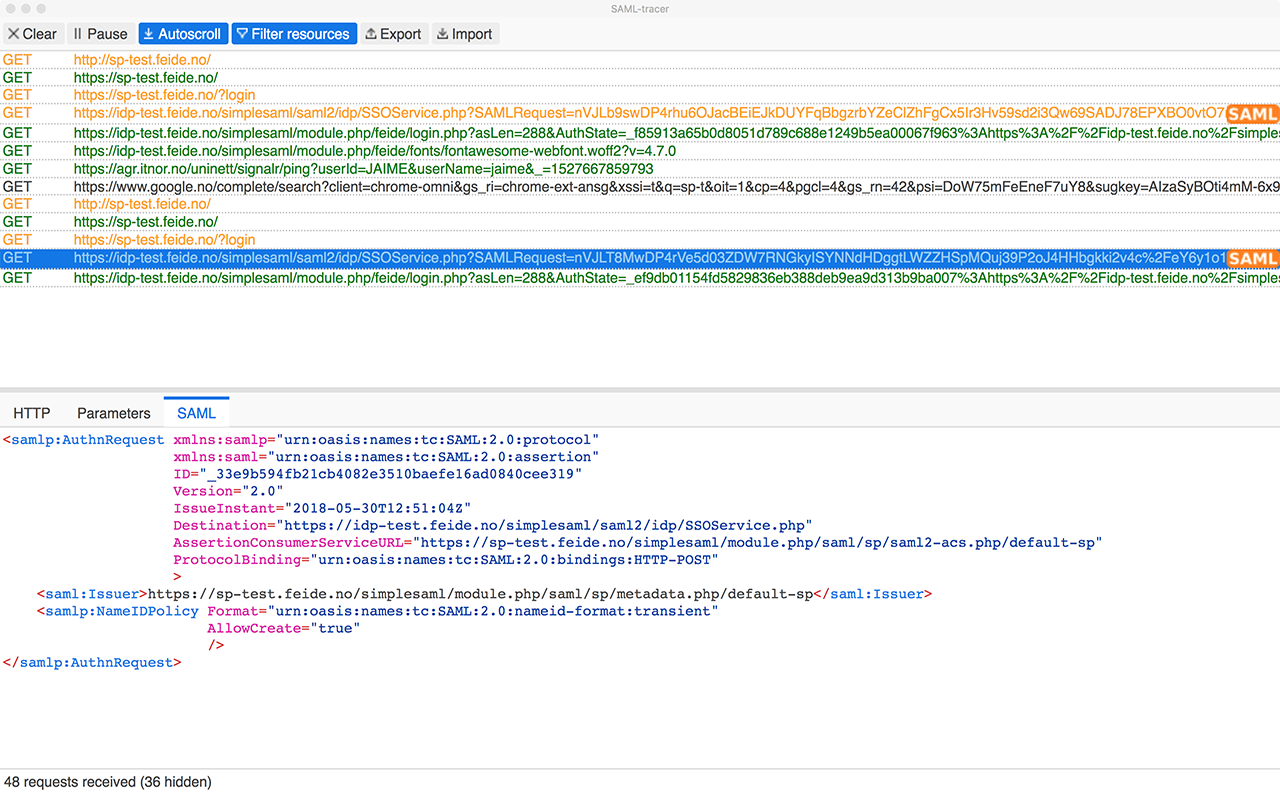
- Incorporate the “SAML Tracer” plugin into your browser (for Chrome, the plugin can be accessed at: https://g.co/kgs/MnGPvVU).
- Activate the plugin by clicking on the icon. Window with empty log should open as a result.
- Proceed to engage in the SSO process once more with the affected user.
- SAML Tracer window should register logs from the corresponding operation.
- Upon completion, select the SAML Tracer “Export” option to preserve the log into a designated file.
- Share the log file along with a screenshot depicting any associated errors with the Masterplan Customer Support team for further assistance and resolution.

